
In previous articles, we reviewed how to create a custom Registration form. We then created custom groups – each with their own Intros and Outros. We then added a series of elements to our custom Registration form – being careful to assign each element to one of our custom groups. Finally, we created 20 Demo Members which we added to create a series of records. These records can now be displayed in a searchable table that Fabrik calls a list. In this article, we will review how to customize our Fabrik List and Search functions.
Four Key Fabrik Functions
Fabrik has several different parts which all work together to help us build a custom community network. These include:
Forms - which contain groups of elements and are used to collect records from our members.
Groups - which are sections of our form used to help divide and organize our form into collections of elements.
Elements - which are the individual fields present on a form and the column names in your database table with each column holding the records entered using each element.
Lists - which take records collected from your form elements and display them in a searchable table.
Fabrik Settings, Parameters and Permissions
Each form, group, element and list has its own settings and parameters and viewing, editing and deleting rights. Menu items that link to these lists and forms also have their own access and display settings. Finally, if linking to a form in a module, the module also has its own access and display and permissions settings. Quite often, most of these settings and permissions can be left at their default values. Our goal is to cover just a few of these settings. Because this is a project based course, we cover these Fabrik settings and parameters in the order that they are needed to create our custom Registration form and Service Provider form and their matching Searchable Lists.
View the Fabrik Provider Info List
After setting up elements and using these elements to enter data in our Provider Signup form, Fabrik will create a matching Provider List to display the data entered into the Provider Signup form. Let’s begin by look at our Provider List in the front end of our website. To view this list, we need to create a Fabrik List menu item in our Members menu and set it for Registered Member access. We did this in our last article. Then go to the front end of our website and log in as a Registered Member. Then click on the Provider List Menu Item. Alternately, in the back end, we can click on Fabrik Lists and then click on View Data for the Provider Info List.
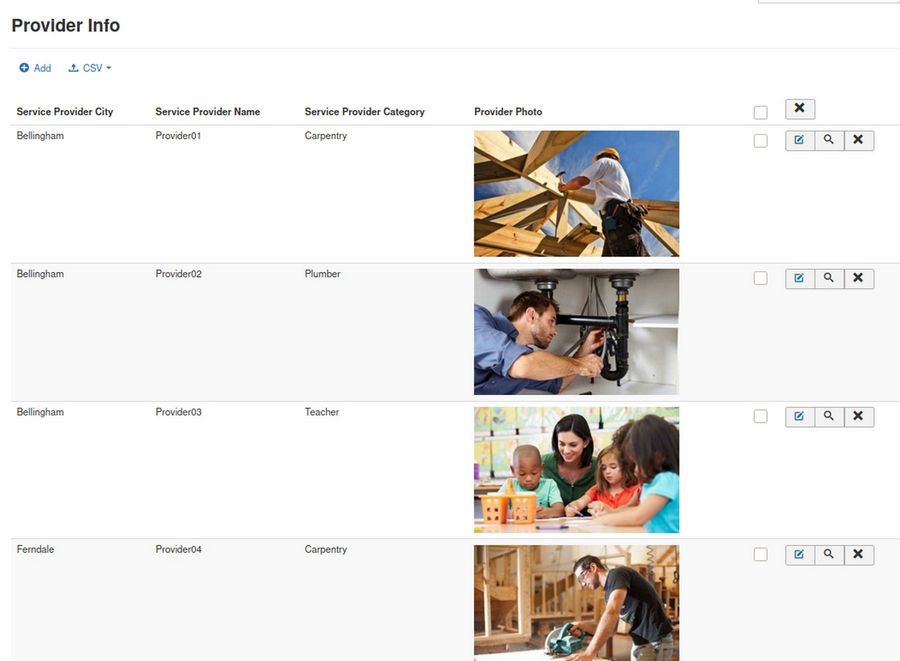
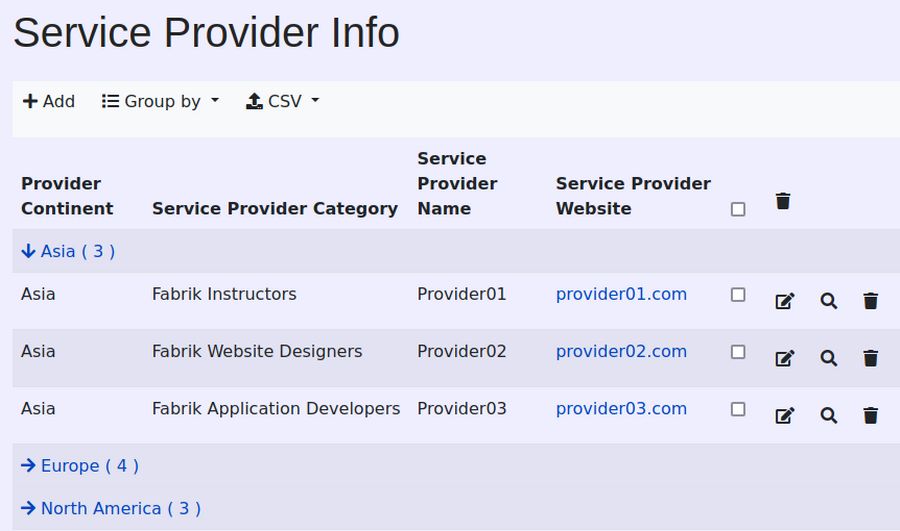
A huge list like this can be overwhelming to members trying to read it. We will therefore use the Fabrik List, Provider Info Edit screen to first group Providers by City (or in our case Continent) and then allow Members to search and filter the list for specific Service Provider categories. Members can then click on a link to view each Providers Profile page.
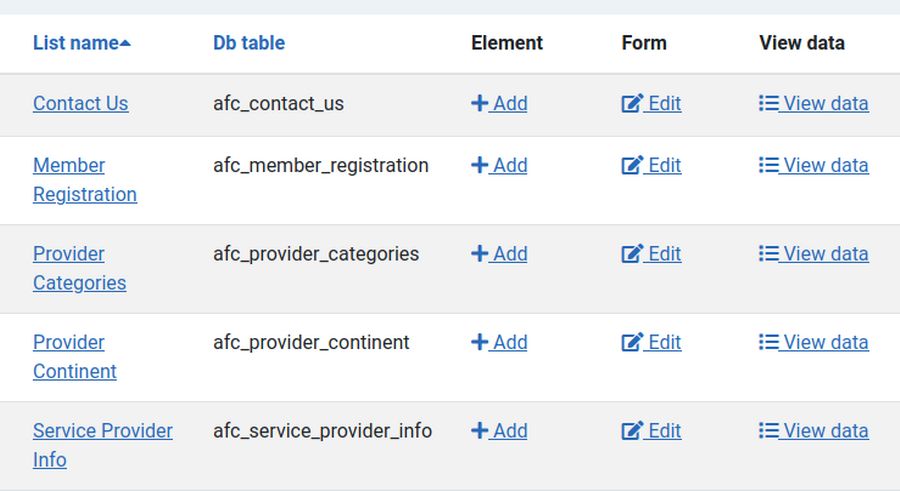
Go to Components, Fabrik, Lists to see our 5 lists in the back end of our website:
Click on View Data for the Provider Info list and you will see the same data table that we is in our custom Registration form View Data screen and the same Provider Info table that is displayed on the front end of our website.
A Tour of the Service Provider List Edit Options
Click on the Service Provider Info List. This brings up the Provider Info List Edit screen:
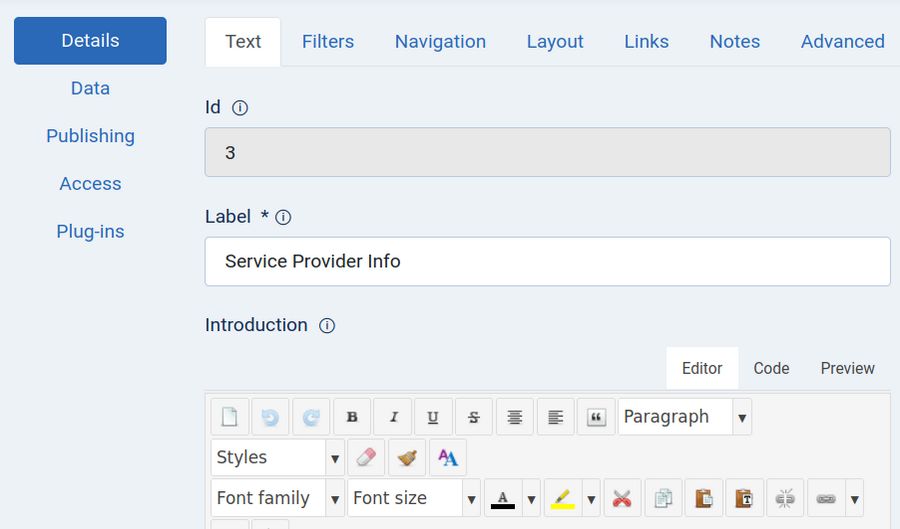
This List Edit screen is where we can edit the content and appearance of our list (which you can also think of as a table). The Edit List screen opens in the Details screen. Then Details screen is divided into 7 tabs. The first tab is called Text. The remaining tabs are called Filters, Navigation, Layout, Links, Noted and Advanced. We will cover some of these functions later if and when they are needed. Next click on Data in the left side menu to view this screen:
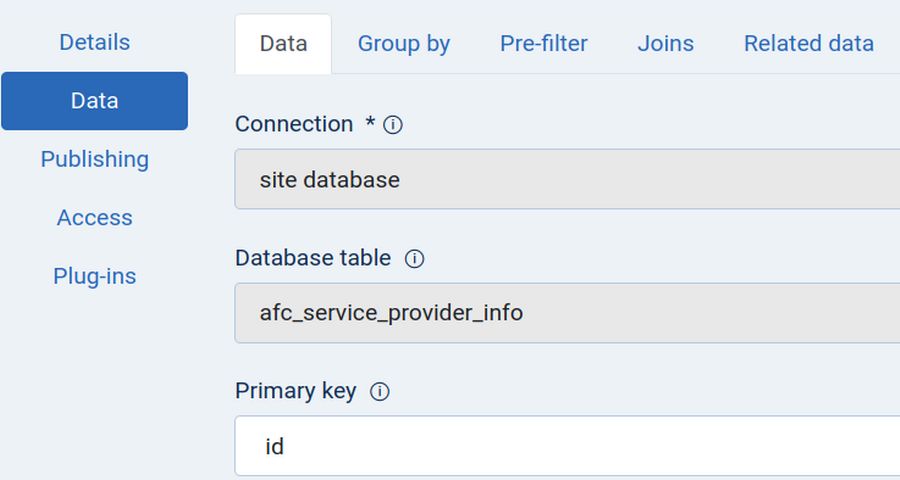
The Data screen is divided into 5 tabs called Data, Group by, Prefilter, Joins and Related Data. Click on the Group by tab. Then change the Group by Setting from blank to Provider Continent. Then scroll down the screen and change Start Collapsed from No to Yes. Then click Save and Close. Then click View Data:
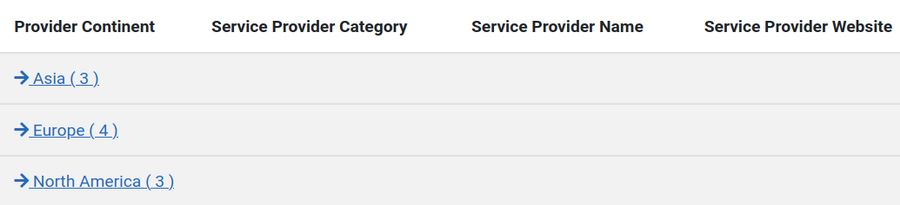
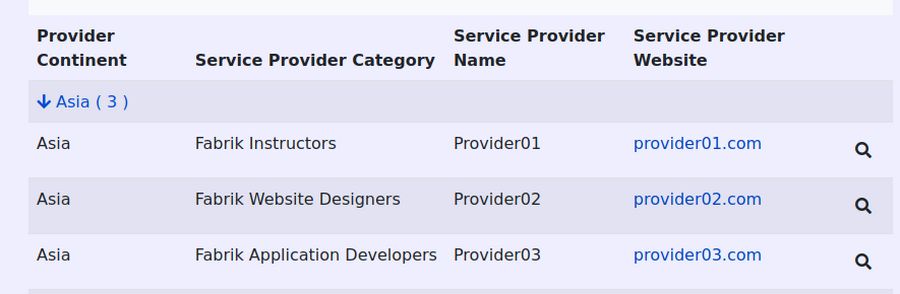
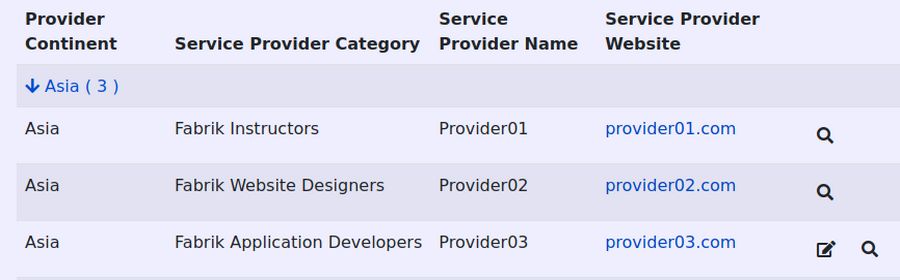
Our members can now quickly see that we have Providers in three Continents. Click on Asia to see the 3 providers and their categories in this continent:

Now go back to the Fabrik Lists Provider Info Edit screen to continue our tour of the List Edit screen functions. Next click on the Publishing screen:
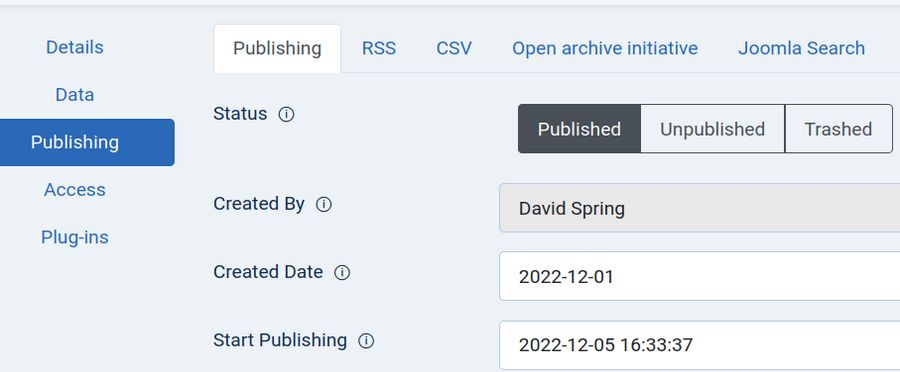
The Publishing screen is divided into 6 tabs. These are called Publishing, RSS, CSV, Open archive initiative, Joomla Search and Quick Icons. We will cover some of these functions later if and when they are needed. Next click on the Access screen:
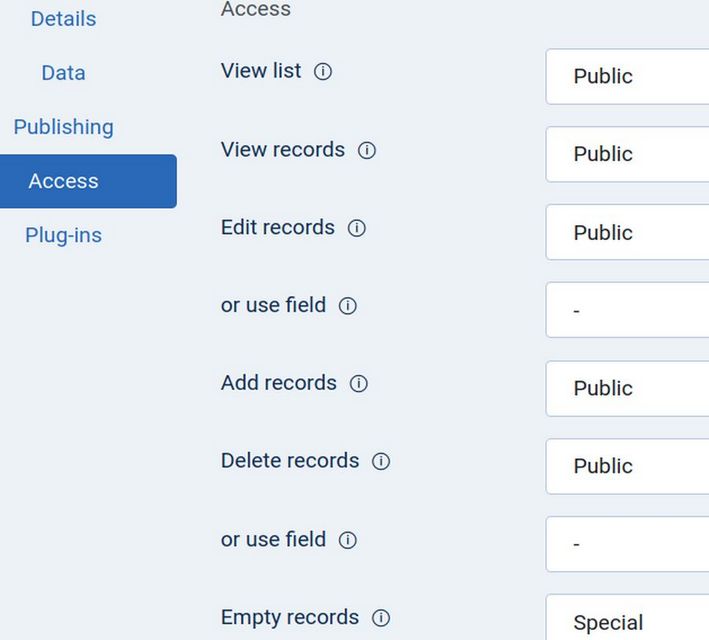
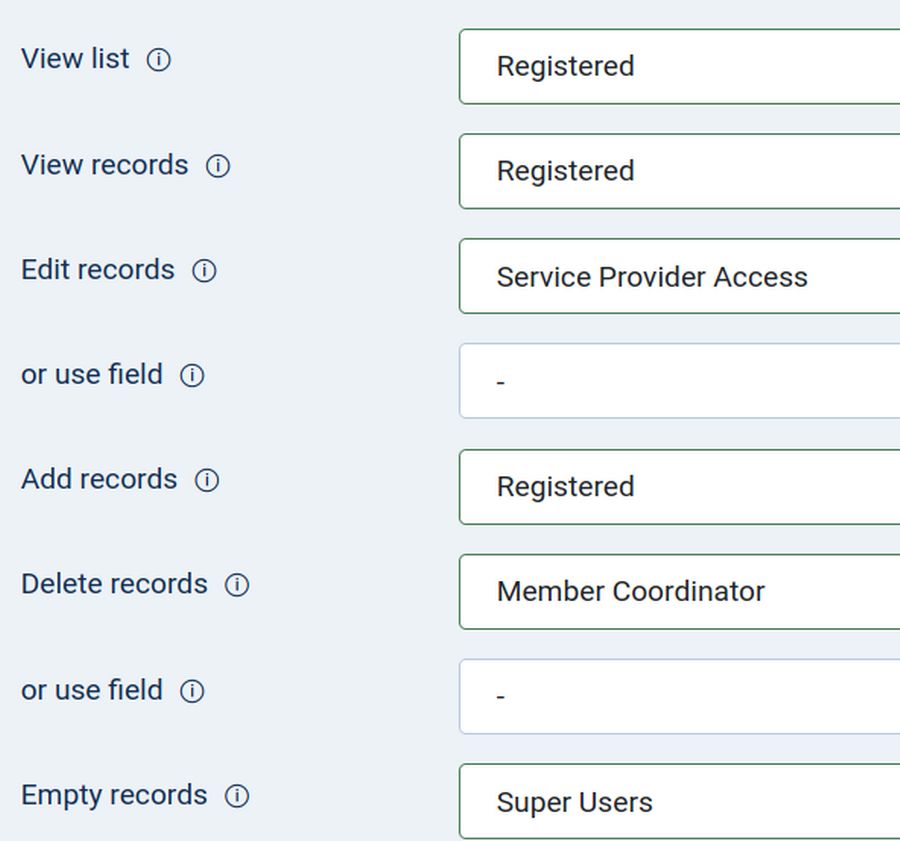
This screen is similar to the Joomla Access screens in that it defines who can see and do different things on our table. Sadly, by default, the public is allowed to Edit Records and Add records and Delete Records! Open the list in a new browser and log in as a personal member and you will see this is true:
So our first step is to change the access to registered or higher – keeping in mind that the access level on the form needs to match the access level on the menu item and the access level of the member you want to be able to view or edit the list or form.
Then click Save. Then go to the front end to view the page again.
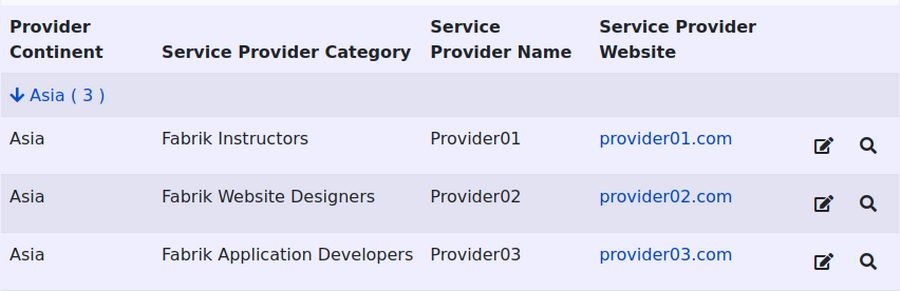
Registered Members can now click View to see the contact information and Additional Info of each service provider. But they can not edit or delete these records. Log out as a Registered Member and log in as a Service Provider. Then click on the Provider list:
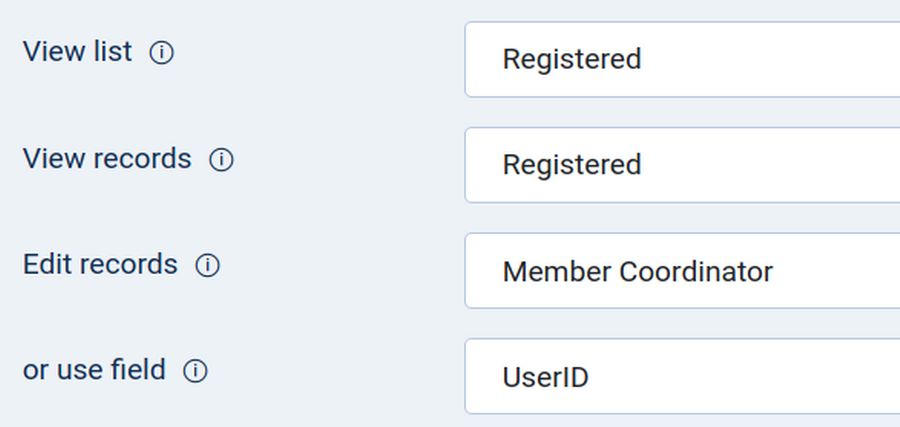
Sadly, any Service Provider can edit the data for any other Service Provider. We want each provider to be able to edit their own data – but not the data of anyone else. We will therefore set the Edit permissions to the Member Coordinator and then set the Or use field UserID to give each provider access to edit their own data.
Customize who can Edit or Delete Records
Edit Records Or use field – By default, this setting is blank. But we can use this setting if a member doesn't have edit rights based on their group, but we still want them to be able to edit records that 'belong' to themselves. Select the element whose data will contain the user's id. The user will then be able to edit any records where the element's data match the user's id. Put in plain English, use the drop down to choose the Userid field.
Then view the Provider Info list while logged in as Provider03:
Click on Edit for Provider03.
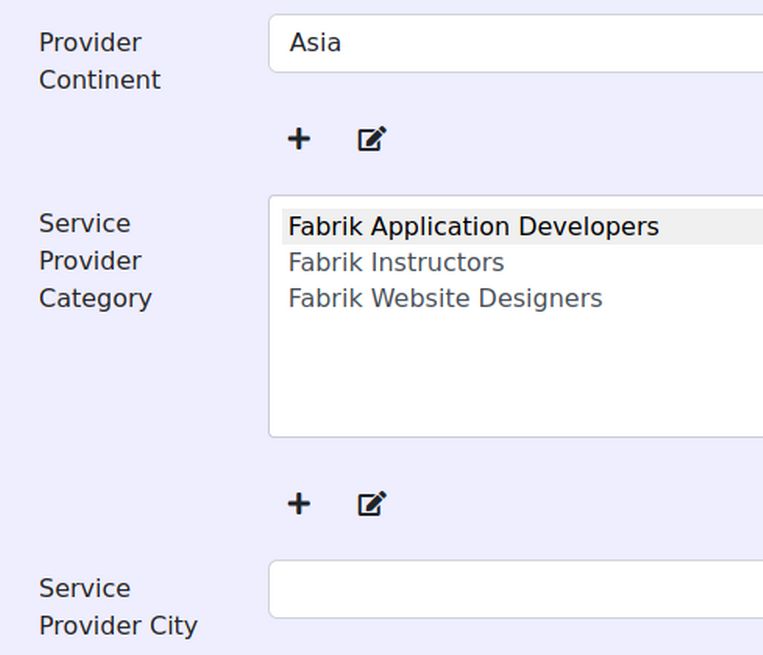
Provider03 can now edit their own records but not others.
Delete Records Or use field - the same principal as the Edit record's or use field option, except this applies to deleting records. We will allow members to Edit but not delete their records.
Restrict who should be allowed to Delete All Records
Empty records setting -The access level at which users can empty all records in the entire table. This removes ALL records from the database and resets the primary key to 0! By default, Empty Records is set to Special -which in our case includes Authors, Service Providers and a lot of other members. Use the drop down to change this to Super Users. Then click Save.
Next click the Plugins screen. Then click Add:
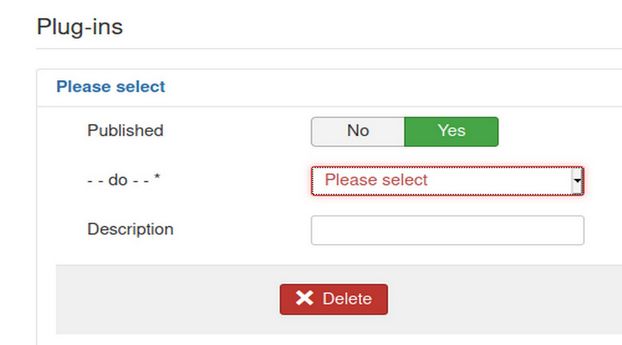
Click on the drop down arrow and you will see that several list plugins come with the Fabrik component. We may review some of these list plugins later if and when we need them. For now, click Delete to delete the added plugin. Then click Save and Close.
What’s Next?
This completes our introduction to Fabrik Lists. In our next article, we will review how to add a Search Function to the top of our list to help members quickly find Service Providers in the category they are interested in. We will also cover Fabrik Filters and Prefilters.