1 Create your First Fabrik Form

Before you can create your first Fabrik form, you need to first create a Joomla website and then install Fabrik. But before you create a Joomla website, you need a server to host your Joomla website. If you are going to make an interactive community network, you really should create a Virtual Private Server (VPS) to host it. Finally for security reasons you should first set up a Linux laptop as using an insecure Windows computer is one of the most common ways that hackers take over websites. It is a lot of work to build a community network. It is worth taking the time to set it up in the most secure way. We will therefore begin by outlining the steps to create a secure laptop and a secure VPS. We will then use the VPS to set up a secure Joomla website. We will then install Fabrik and use it to build our first Fabrik form.

This chapter is divided into the following four sections:

1.1 Use a Linux Laptop to Create a Secure VPS

1.2 Use your VPS to Install Joomla

1.3 Add Joomla Extensions

1.4 Use Fabrik to Create your First Form

1.1 Use a Linux Laptop to Create a Secure VPS

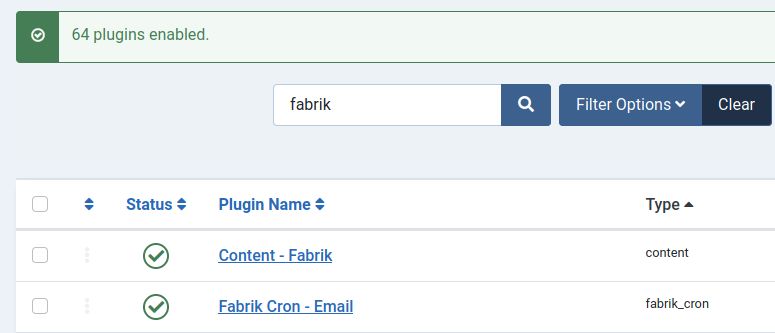
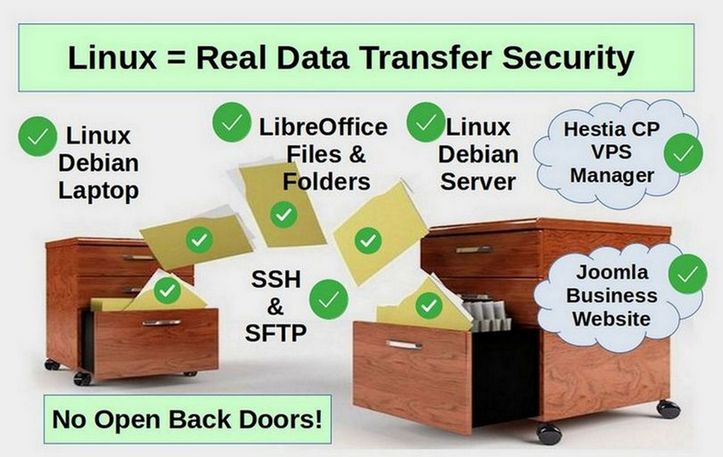
Creating your own community network can be a lot of work. It is important that your network be securely constructed and managed to prevent it from being taken over by hackers. In this article, we will review the first step in creating a secure community network. This is reflashing at least one of your computers to Linux Debian so that you will have at least one secure computer that you can use to access your network. To be clear, it is not wise use a Windows computer to access the back end of your community network. If your Windows computer is compromised, it is only a matter of time until your website and community network will also be hacked. Here is our plan to build a secure foundation for our community network:

01

Step 1 Create a Debian Live USB
The first step is to create a Linux Debian Live USB. The first step in this process is to get two empty USB 3 drives. Use the first drive to make a copy of all of your documents on the computer you will be reflashing. Depending on how many documents, images and videos you have on your computer hard drive, this USB 3 drive may need to be 64 GB to 128 GB.

Note: Reflashing a computer will delete all documents and programs on the computer. Please copy all documents and make a list of all programs that you want to re-install after reflashing your computer.

The second USB drive will be converted into an Linux Debian 11 Live USB. It only needs to be 8 GB. I recommend Sandisk USB drives.

1.2 Use Hestia to Install Joomla

In the last article, we set up a Debian VPS and used it to install the Hestia Control Panel. In this article, we will point our domain name from Canhost to our VPS IP address. We will then create a new Hestia User and install our domain name on the new user account. We will then use Hestia to create a database and use the Hestia File Manager to create a Joomla 4 website.

01

Step 1 Use your VPS Primary IP address to point your Domain Name to your VPS server.
Here we will assume that you have already set up your Hestia VPS using a different domain name. Log into your Canhost account and click on Domains. Click on Name servers. Make sure they are set to be the default Canhost servers. Then click on My DNS. This opens the Canhost DNS Manager. By default, the Zone records point to the Canhost IP address. Delete the IP addresses in the first four records - which are all A records, and replace these IP addresses with the IP address of your own VPS.

02

Click Save. Then click Add Record to create a CAA record:

03

Your domain name goes in the top box. Type is changed to CAA. Rdata is the number 0. The next box, type issue and the bottom box, type letsencrypt.org. Then click Add Record. The second CAA record is the same only replace the word issue with issuewild. Leave the remaining DNS records in place. They are needed to connect your domain name to the Canhost servers. Then click Save Changes.

1.3 Add Joomla Extensions

Another key ingredient in creating a secure website is adding some important Joomla security extensions. Extensions are additional tools for building Joomla websites. In this article, we will review how to add several important security extensions as well as how to install the JCE editor and the Helix Ultimate template.

01

How to Research Joomla Extensions
Let's begin by going to the home page of the Joomla Extension Directory https://extensions.joomla.org/

Joomla offers three kinds of extensions. These are called Plugins, Modules and Components. Below is a description of each type.

Plug Ins are reached and configured via the Plug In Manager. These are very small bits of code typically inserted into articles.

Modules are Joomla boxes of content. After uploading a new module, it can be found in the Module Manager.

Components are large programs which often include plugins and modules. They may add several pages of options and parameters. After uploading a new component, all components are reached from the Top Menu Components Icon.

The final type of extension is a Combination of the Components, Modules and Plugins typically called Packages. These are Components which may also come with associated Modules and/or Plug Ins. It may require more than one download to make these work. While templates are also Extensions, templates are not posted in the Extension Directory.

1.4 Create your First Fabrik Form

Now that we have set up a Joomla 4 website, we are ready to install and learn how to use Fabrik. Our goal is to create a form that looks like this:

01

The first step is to download Fabrik.

Step 1 Download Fabrik
The first step is to download the complete Fabrik package from this page: https://fabrikfriends.com/downloads

The package includes the component and about 60 plugins. The file size is about 70MB. Ideally, you should have either an Ethernet connection or a high speed WIFI connection to download and install it using the Joomla Installer. Then go to Extensions, Plugins and type Fabrik in the Search box. Then enable the plugins

01a

Then check and disable the two visualization plugins at the bottom of the list. Then clear the Search box.


Step 2 Create a Contact Us List (which will also create a form)
We will create a Contact Us List (which will also create a matching form) in part because all websites need a Contact Us form and in part as practice with a simple form before we create a more complex form.

Go to Components, Fabrik, Lists and click New.