
All of our Provider lists have a link called VIEW on the right side of each row. The button called VIEW leads to a Details page which is also called a Profile Page. In this article, we will explain how to create your own Provider Profile Page.
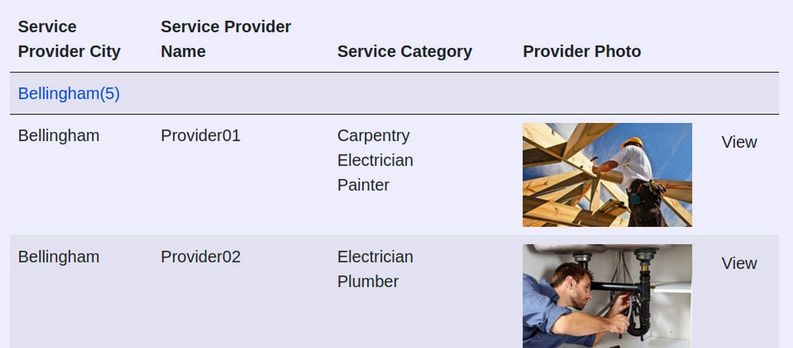
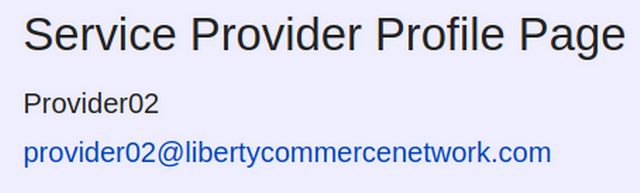
Clicking on any VIEW link will go to the Provider Profile page for that particular Provider where you can find out more about the Provider and the Service or Job they are offering. We have set the elements so that the only elements that show on the Provider Profile Page are the Provider Name and Email Address:
If you log in as a Provider (either a Service Provider or a Job Provider), and then click on the Provider List you will see a link called EDIT next to the VIEW link.

You can click on the EDIT link to edit your Provider Profile Page.
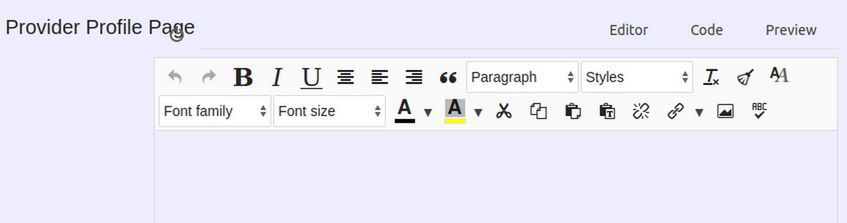
Alternately, you can click on Provider Signup and or Edit in your Provider Menu to reach the same Provider Edit page. Either way, the Provider Edit page is automatically filled with your current Provider Information. Scroll to the bottom of the Edit screen and you will see an area called Provider Profile Page:
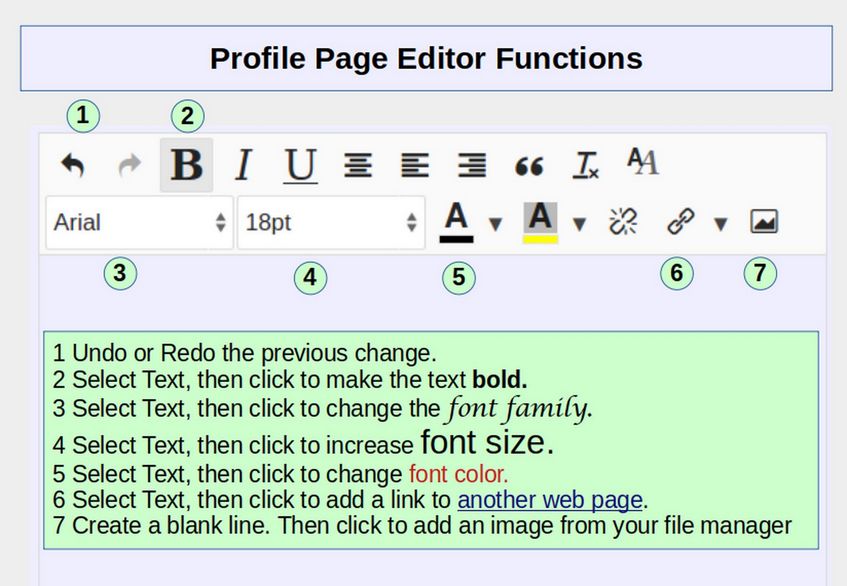
Provider Page Editor Functions
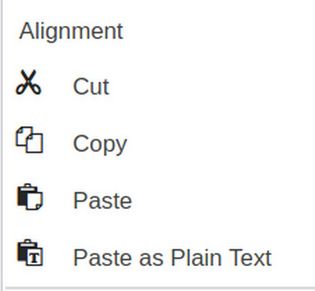
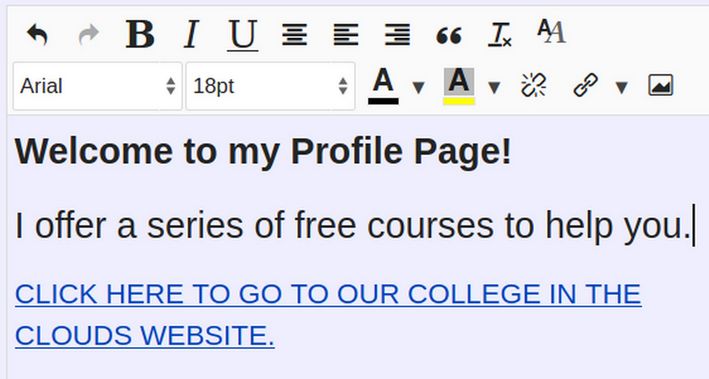
Let’s take a look at some of the Editor functions we can use to add content to our Provider Profile Page. Here is a closer view of the Editor with an explanation of what some of the buttons mean:
Two ways to add Text to the workspace
One way to add text is to start typing in the workspace. This is not a very efficient way. A better way is to create a new Libre Writer document called My Profile Page. Then type in that document.
When you are done, you can copy the text and then paste it into your Profile Page workspace. This screen will appear:
Click Paste. Then this screen will appear.
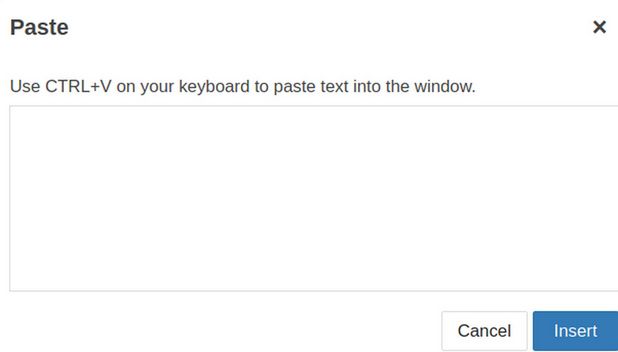
Click the Control Key plus the V key to paste text into this box.
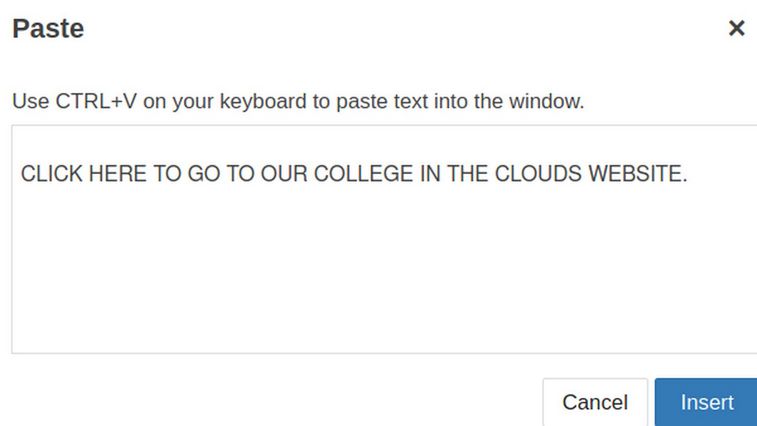
Then click Insert:
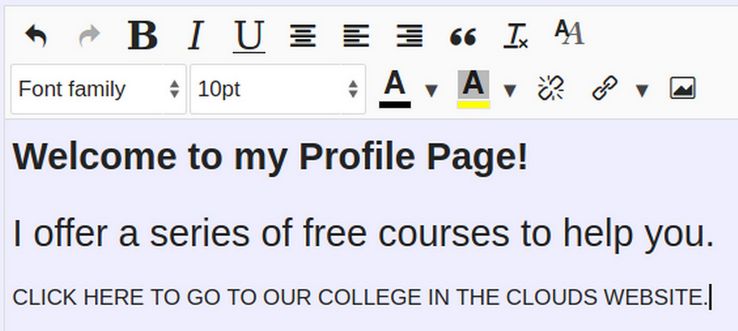
Select the text and click on Font Size to increase its font size and click the B to make it Bold.
How to use the LINK button to Add a Link
First, copy the full URL you want to link to. Here is a link to our College in the Clouds website:
https://collegeintheclouds.org/
Next, copy paste or type in some text to provide a clue about where the link goes. For example, we will use this text:
CLICK HERE TO GO TO OUR COLLEGE IN THE CLOUDS WEBSITE.
Then select the text you want to use as a link. Then click on the LINK button in the Editor.
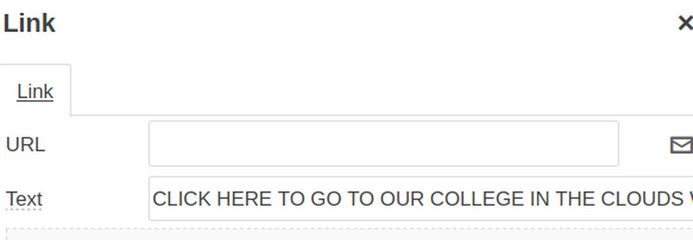
Copy paste the full URL of the Link into the URL box. Then click INSERT at the bottom of the Popup.
How to Use the Image button to add an Image
Before you add an image to your Profile Page, you want to make sure that it has a file size that is less than 100KB. The easiest way to do this is to paste your image into a Libre Writer document. Then right click on the image and click Compress. Note that the image below currently has a file size of 130KB. Change the resolution to 150 DPI. Then click OK.
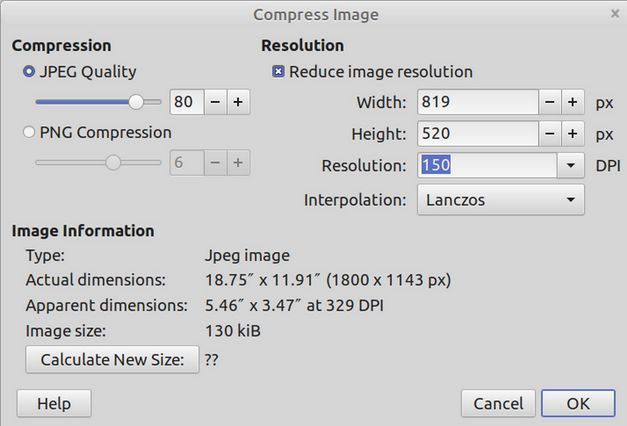
Then right click on the image again and click Compress again. This time the Image size in the lower left corner should be less than 100KB. Click OK again. Then save the compressed image to an images folder in your file manager.
Make a space to add your image to the page
Add a couple of additional sentences so that the image can be placed between sentences. We always want to end our Profile Page on a sentence rather than on an image.
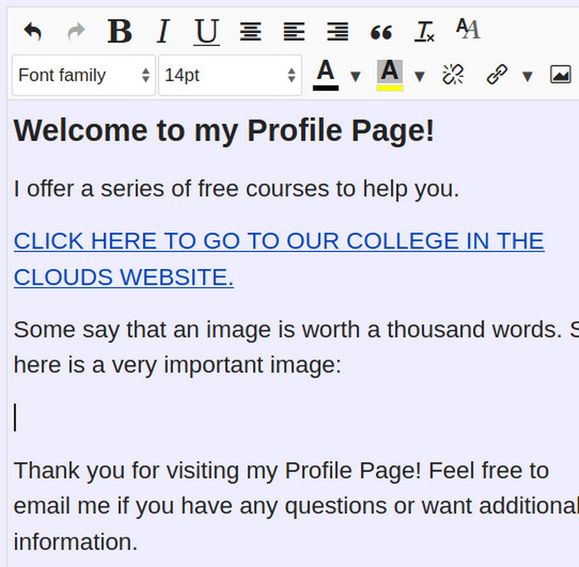
Then place your cursor at the beginning of the blank line. Then click on the IMAGE button which is just to the right of the LINK button. This brings up the Image Manager:
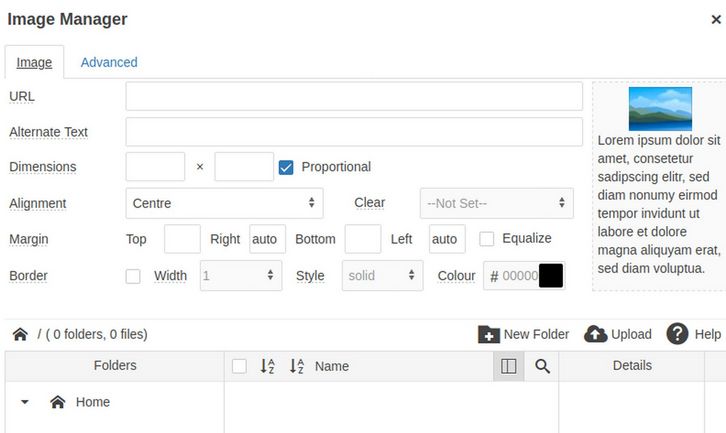
Click on Upload in the lower right corner:
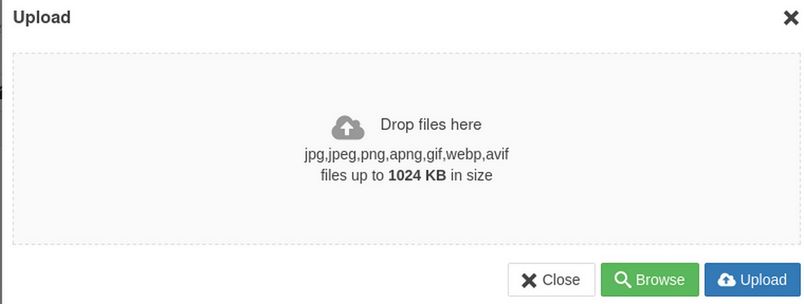
Then click the Green Browse button. Find the image you want to add with your file manager. Then click Save. Then click Upload. The image name will appear in the Name column. Click on the image name. This will create a URL for the Image:
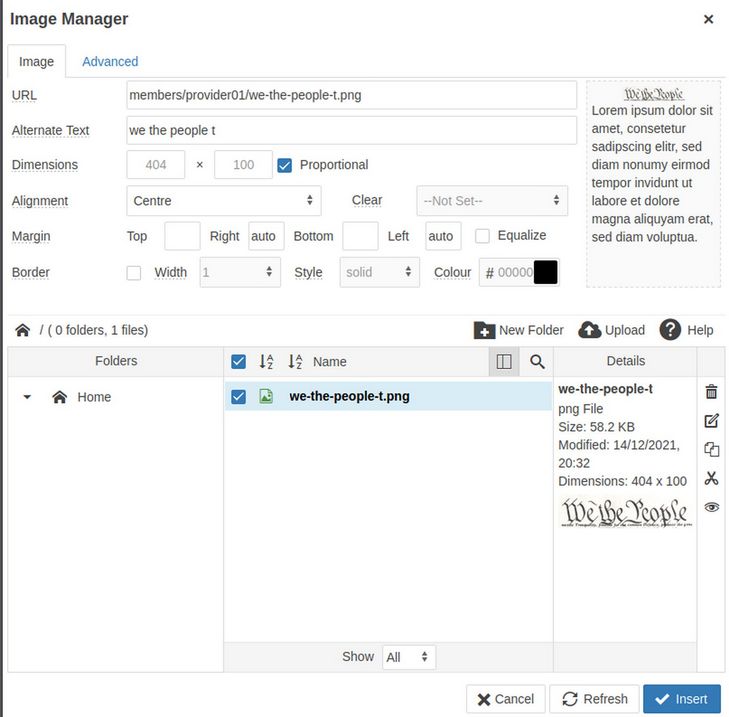
You can change the Dimensions if you want to make the image bigger or smaller. You generally want the image to be between 300 to 800 pixels wide. This image is set for a width of 404. Click Insert.
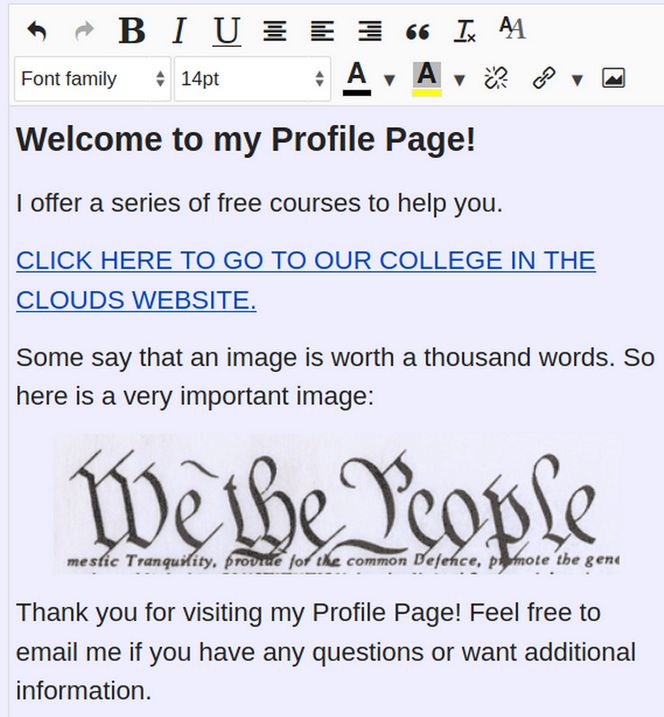
Feel free to add as many images as you want and as many links as you want.
How to add a video to your Profile Page
The easy way to add a video is to just add a link to a video on a video hosting platform. Here is a link to my College in the Clouds Youtube video: https://www.youtube.com/watch?v=yboWT4OwqEk
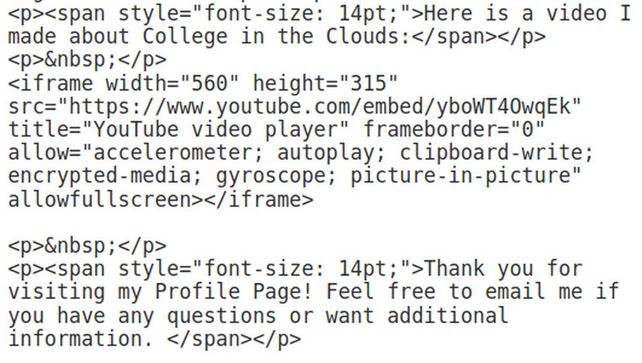
However, it is better to embed the video in your Profile Page. To copy the embed code, click on the video Share button. Then click Embed. Then copy and paste the embed code in a Libre Writer document. Here is the embed code to my College in the Clouds video:
<div><iframe width="600" height="340" src="https://www.youtube.com/embed/yboWT4OwqEk" frameborder="0" allow="accelerometer; autoplay; clipboard-write; encrypted-media; gyroscope; picture-in-picture" allowfullscreen></iframe></div>
To insert the video embed code, click on Code button that is just above the editor.
I have added a couple of blank lines to make it easier to see where we want to place the embed code:
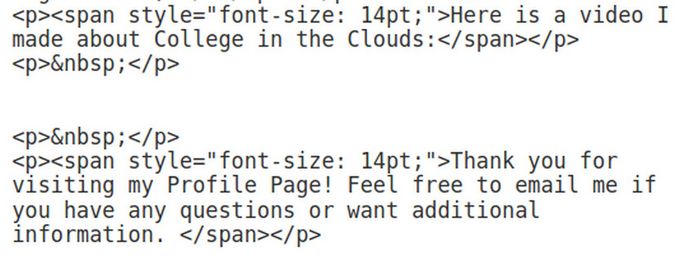
Here is what it looks like after copy pasting the embed code:
Click on the Editor button to switch back to the Editor view.
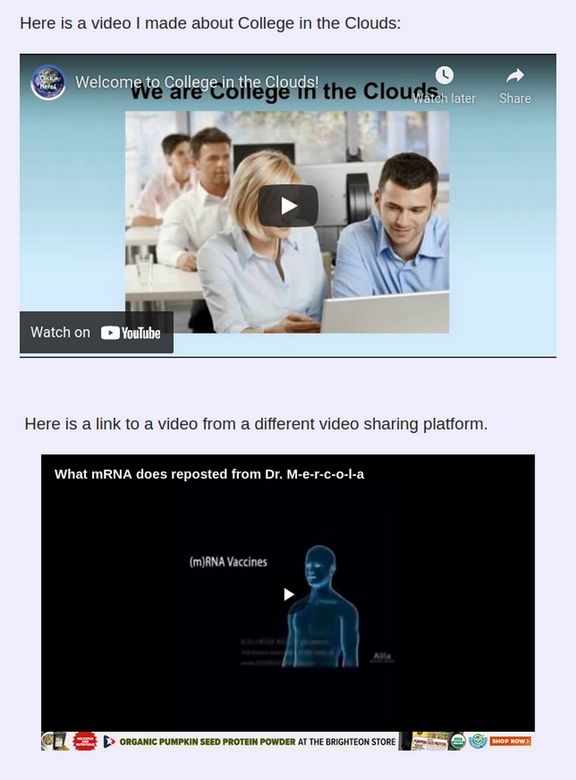
You can add a non-youtube video with the same code:
<div><iframe width="600" height="340" src="https://www.brighteon.com/embed/b246c5de-7b94-469d-b1ce-8f4acecd2152" frameborder="0" allow="accelerometer; autoplay; clipboard-write; encrypted-media; gyroscope; picture-in-picture" allowfullscreen></iframe></div>
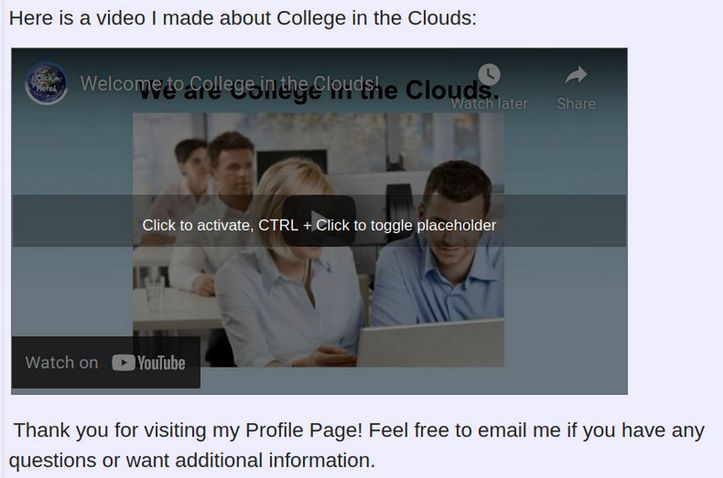
Then click Save to Save the changes to your Profile page. Here is what the videos on the Profile Page now looks like:
Congratulations! You now know how to add text, images and videos to your Provider Profile Page!
Questions?
Fill free to post any questions you have on our Community Forum.